

Last updated: October 2, 2026
Windows 11 contains no native setting to adjust the mouse polling rate. The operating system handles input reports through the USB HID stack, but switching the frequency requires the mouse companion software, an onboard physical button, or a WebHID interface. Adjusting the report frequency changes how many times per second the mouse microcontroller transmits position packets to the CPU.
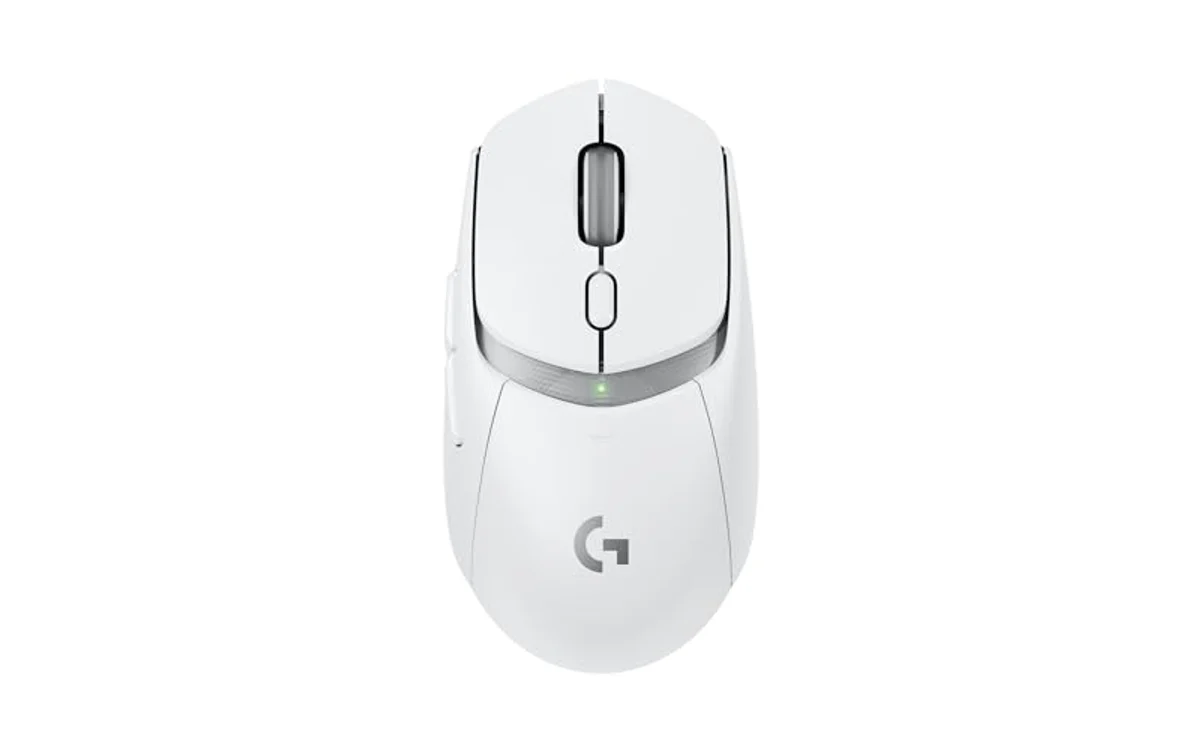
Do not confuse polling rate with DPI. DPI dictates the sensor count per inch of physical movement, is handled inside the sensor hardware, and is adjustable via Windows cursor settings or firmware. For cursor sensitivity adjustment, consult our guide to change mouse DPI in Windows 11. Polling rate controls the communication interval, measured in Hertz (Hz), where 1000Hz equals 1ms report intervals.
Prerequisites and Operational Constraints
Windows 11 processes mouse packets on arrival. Standard office mice lack reconfigurable firmware; the hardware defaults permanently to 125Hz. The Bluetooth protocol caps HID reports at 90Hz to 133Hz regardless of sensor capability. For detailed transport limitations, check our 2.4GHz vs Bluetooth gaming mouse comparison. High report rates require dedicated 2.4GHz wireless dongles or a direct USB connection.
High report rates demand heavy CPU interrupt processing. Older game engines tie input polling to primary game loops, causing severe frame drops when the mouse moves rapidly at 2000Hz to 8000Hz. If the system encounters frame hitching during fast flicks, you must lower mouse polling rate to 1000Hz to stabilize frame times.
Method 1: Change Polling Rate via Manufacturer Software
Most gaming mice store polling configurations inside vendor suites. Common utilities include Razer Synapse, Logitech G HUB, SteelSeries GG, Corsair iCUE, and Glorious Core.
- Connect the mouse directly to a motherboard USB port or a dedicated 2.4GHz wireless receiver. Avoid unpowered USB hubs.
- Launch the manufacturer software utility corresponding to the mouse brand.
- Select the active mouse from the device dashboard.
- Navigate to the “Performance”, “Settings”, or “Sensor” tab.
- Locate the setting labeled “Polling Rate”, “Report Rate”, or “Reports Per Second”.
- Select the desired frequency: 125Hz, 250Hz, 500Hz, 1000Hz, 2000Hz, 4000Hz, or 8000Hz.
- Save the setting to the onboard mouse memory profile if the device supports hardware storage, then close the background software if background overhead causes resource contention.
Method 2: Change Polling Rate via Hardware Base Switch
Driverless mice (Zowie, VAXEE, select Pulsar or Endgame Gear models) rely on hardware microswitches or button combinations on the base plate. Software installations are bypassed entirely.
- Turn the mouse upside down to inspect the base assembly.
- Locate the physical slide switch or push button labeled “Report Rate” or “Hz”.
- Press the button to cycle the indicator LED to the target rate: Red typically indicates 125Hz, Blue indicates 500Hz, and Green indicates 1000Hz (consult the manufacturer manual for exact LED mapping).
- For mice using USB plug-in combinations, unplug the mouse USB cable, hold a specific side button combination (e.g., holding the back side button for 500Hz or the front side button for 1000Hz), then reinsert the USB cable into the PC while holding the buttons.
Method 3: Configure via WebHID Browser Tools
Modern enthusiast mice utilize the Chromium WebHID API rather than bloatware desktop installers. Mice from Keychron, Pulsar, Lamzu, and Wooting support web configuration.
- Open a Chromium-based browser (Google Chrome, Microsoft Edge, Brave) in Windows 11.
- Navigate to the manufacturer’s official web app (e.g., Wootility Web, Keychron Engine, Pulsar Web).
- Click the “Connect Device” prompt inside the browser window.
- Select the USB HID device in the Windows 11 permission popup and click “Connect”.
- Adjust the “Report Rate” dropdown to the target value.
- Click “Save to Device” or “Apply” to flash the setting directly into the mouse microcontroller EEPROM.
Polling Rate Decision Matrix
| Target Rate | Interval | Ideal Use Case | System / Engine Limitations |
|---|---|---|---|
| 125Hz | 8.0ms | Office work, basic Bluetooth usage, extended wireless battery | High input latency; unacceptable for competitive gaming |
| 500Hz | 2.0ms | Budget CPUs, legacy DX9/DX11 titles, weak single-thread performance | Slightly higher input delay than 1000Hz; minimal CPU interrupt load |
| 1000Hz | 1.0ms | Esports standard, modern FPS gaming, universal compatibility | Balanced performance; standard across modern engines |
| 2000Hz–4000Hz | 0.5ms–0.25ms | 240Hz+ monitors, fast modern CPUs (Ryzen 7000/9000, Intel 13th/14th Gen) | Moderate CPU load; high battery consumption on wireless mice |
| 8000Hz | 0.125ms | Esports setups with 360Hz–540Hz displays, high-end multicore systems | Severe CPU interrupt utilization; engine stutter in unoptimized games |
To choose between standard competitive thresholds, review our 500Hz vs 1000Hz polling rate guide.
Verification Checklist
Confirm Windows 11 accepts the new report rate without dropped packets:
- Open a browser-based report analyzer or a dedicated benchmark utility. Follow the steps in how to check mouse polling rate to measure live throughput.
- Move the mouse across the mousepad in rapid circles. Steady readouts must match the target rate within 5% variance.
- If 4000Hz or 8000Hz fails to saturate, increase the mouse DPI. Low DPI settings (such as 400 DPI) cannot generate enough physical movement counts to saturate 8000 packets per second. A minimum of 1600–3200 DPI is recommended for high-polling saturation.
- Monitor Windows Task Manager CPU utilization under “System Interrupts”. If hardware interrupts exceed 5% during mouse motion, reduce the polling rate.
- Ensure the wireless receiver sits within 20cm of the mousepad via an extension cable to eliminate packet drop. Refer to our guide on wireless gaming mouse stuttering fix if rates fluctuate erratically.
Frequently Asked Questions
Why does Windows 11 not have a native polling rate slider?
Windows 11 treats mouse communication as raw HID input driven by the hardware controller. The device driver sends USB descriptors specifying the interval. Windows reads packets as received; the operating system cannot force mouse hardware to transmit faster than the firmware design allows.
Does changing the polling rate drain the wireless battery faster?
Yes. 1000Hz sends eight times more data packets than 125Hz. 4000Hz sends four times more data than 1000Hz. Operating at 4000Hz or 8000Hz cuts wireless runtime from weeks down to under 20 continuous hours.
Can USB hubs handle high polling rates?
Unpowered USB hubs and monitor pass-through ports share bandwidth and introduce packet jitter. Connect high-polling gaming mice directly to the motherboard’s rear I/O ports on dedicated USB root controllers.
Why does the game stutter when the mouse moves after switching to 4000Hz?
The game engine main thread handles Windows input events synchronously. High packet arrival floods the thread queue, starving render calls. Fix: drop the polling rate to 1000Hz in the companion software or toggle the raw input buffer in the game settings.
Add PCGearWiki as a preferred source on Google
Sources and Verification
Research basis: Product identity, dimensions, interfaces, supported features, and warranty terms are checked against available manufacturer documentation and current retailer listings. Price, stock, and aggregate customer ratings can change after publication.
Testing disclosure: Unless this article explicitly states that PCGearWiki performed hands-on testing and describes the test setup, recommendations are research-based editorial evaluations rather than PCGearWiki laboratory measurements. Customer feedback is used to identify recurring ownership patterns, not as proof of technical performance.
Last source review: October 2, 2026. See our Review Methodology, Editorial Policy, and Corrections Policy.


Write Your Review
No reviews yet. Be the first to share your experience!